

Congratulations on your new SylSmart Standalone system!
You will find installation and configuration are seamless...
here are the simple steps you need to do.
Basic Setup
1) Install your components:

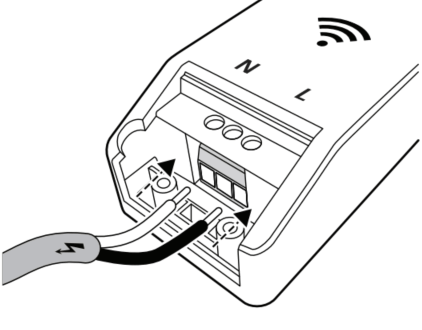
Remove old fixtures and install new SylSmart enabled wireless luminaires. Connect Live, Earth, Neutral.

(optional)
Use sensors: connect them to mains power and set parameters.


(optional)
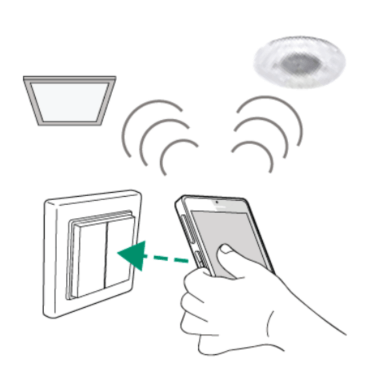
Use wireless wall switch: prepare for pairing
2) Download the SylSmart Standalone App


Add your luminaires and create your desired network

tap " My Networks".
Provide your network credentials.

and "Show Nearby Devices".
Tap each one to join them
to your network.
Your Smart System is now ready to use!
The basic setup of your system is now complete. Turn on/off, dim or colour temperature adjustment now works with a simple touch of a button.
Additional features
For further customisation, consider applying further available settings

(Optional)
Personalise your scene-setting by adding your own photo.

(Optional)
Set lighting scenes: select luminaires, name scenes & configure your light settings.

(Optional)
Setup the wall switch.

(Optional)
Setup the presense sensor.

(Optional)
Create animations.

(Optional)
Create time-based scenes.

(Optional)
Add timers.

(Optional)
Setup the control hierarchy.

(Optional)
Daylight linked dimming settings.

(Optional)
Setup circadian profiles.
Download
For a full set of features available of your SylSmart standalone system, check out the detailed user guide & training videos.

Frequently asked questions
Have further questions?
Check out the FAQ document for the immediate answers or contact our local country representatives.
